
Last Updated 24 hours ago
Overview
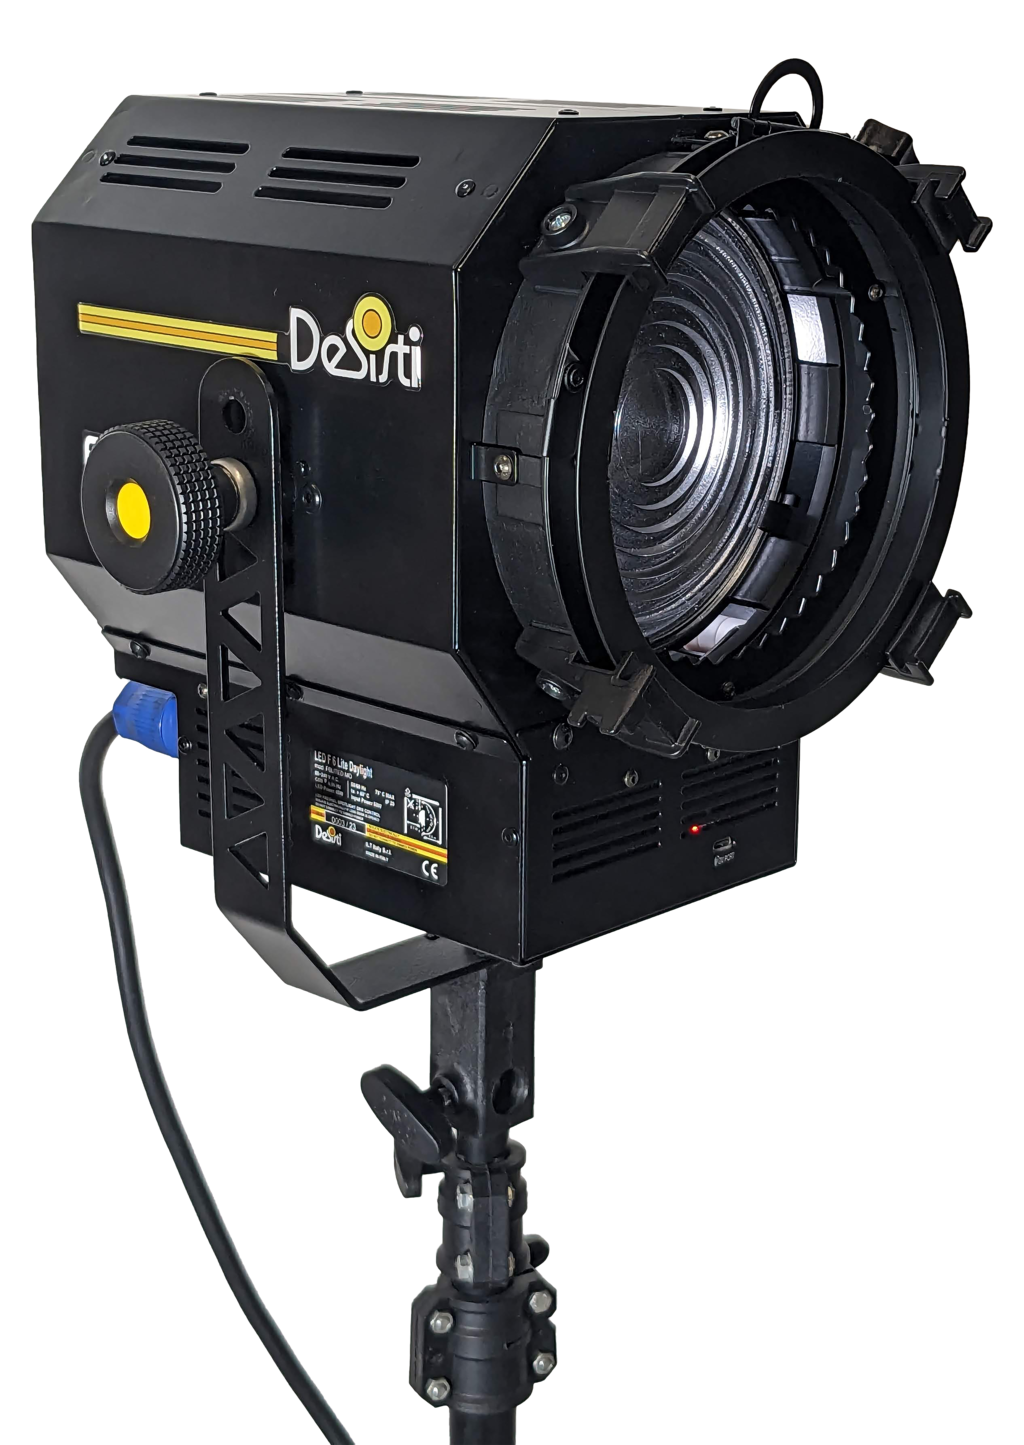
The De Sisti F6 Lite is a fanless 150mm Fresnel in fixed-white and Vari-White versions. It provides a larger lens than the F4.7 Lite for small studio keys and controlled backlight while retaining passive cooling.
Manufacturer product photograph. Select the image to enlarge.
The F6 Lite is a sound-sensitive studio option, but it should not be specified as a direct output substitute for the 120W Super LED F6.
Key specifications
| Specification | Details |
|---|---|
| Source / LED power | 70W T/D; 80W maximum VW LED engine |
| Wall-power consumption | 80W T/D; 90W maximum VW |
| Colour versions | T 3,200K or D 5,600K fixed-white; separate VW version 2,800–6,600K |
| Lens | 150mm borosilicate glass Fresnel |
| AC supply | 90–250V, 50/60Hz |
| Controls | Local controls and 5-pin DMX; channel count depends on T/D or VW version |
| Dimming | T/D and VW use different dimmer/CCT personalities |
| Colour-rendering reference | T: CRI 97 / TLCI 96; D: CRI 96 / TLCI 97; VW: CRI >95 / TLCI 96 |
| Cooling | Passive cooling; fanless |
| Weight with yoke | 5.5kg with manual yoke |
| Protection | IP20 standard version |
Source: model-specific manufacturer datasheet. The T, D and VW are separate versions. T/D LED power is 70W; the VW sheet specifies 80W. Vari-White datasheet.
Strengths and limitations
Strengths
- A real glass Fresnel lens and focus mechanism provide controlled directional light.
- Passive cooling removes fan noise from the head.
- Local dimming and wired DMX support a repeatable small-studio setup.
Limitations
- A Fresnel is still a hard source at typical working distances; softness requires a larger emitting area, bounce or diffusion.
- Lower engine power limits throw and the amount of diffusion that can be added.
- The listed standard version needs a protected operating position; do not transfer a different version’s weather rating to this head.
Practical uses
| Setup | Working approach |
|---|---|
| Studio key | Start near flood and set the angle on the face before tightening the beam. Check forehead and chin levels separately; a strong centre reading can hide an uneven key. |
| Hair light or edge | Place the beam behind the subject, then use the barndoors and a separate flag to keep spill off the lens. Allow for the subject’s movement rather than cutting only for the stand-in. |
| Bounce or diffusion | Flood enough to fill the chosen surface. Meter after the bounce or diffusion and leave working room between the head, frame and subject. |
During a relight, keep a record of position, tilt, focus or accessory setting and dimmer level. That makes a repeat setup more useful than a Kelvin value or console percentage on its own.
Output and colour
The F6 Lite should be assessed at the working distance and with its intended accessories. Spot increases centre intensity while reducing coverage; a flood reading describes a different setup.
A T or D head has a fixed white point; a VW head adds adjustable white from 2,800–6,600K. That does not make the VW version a full-colour effects light. Match the order code and console personality to the required colour control.
The manufacturer photometric charts provide the source measurements. Compare beam and field angles separately and keep CCT, distance and front accessories with any recorded lux value.
For high-speed work, test the actual camera, shutter and dimmer level. Check low-level fades and a short recorded clip before relying on a general flicker-free claim.
Power and batteries
The fixed-white model’s LED engine is rated at 70W. The input reference is 80W T/D; 90W maximum VW. The standard supply accepts 90–250V, 50/60Hz; the version-specific datasheets are linked below.
Do not assume that an AC studio head accepts a camera battery. For mobile operation, use the manufacturer-approved supply arrangement for that exact version; an AC inverter also needs adequate continuous rating and runtime.
Power pass-through is limited by the connectors, cable, circuit and manufacturer instructions. Plan the total downstream load rather than daisy-chaining by the number of heads alone.
Controls, dimming and cooling
Use the personality for the exact T/D or VW version. The fixed-white head needs intensity control, while VW also needs CCT. Check 8-bit versus 16-bit operation, blackout and a slow fade before assigning the fixture to a show file.
The Lite Fresnel uses passive cooling. Keep the cooling surfaces clear and leave room around the housing; removing a fan does not remove the need to dissipate heat.
Modifiers and rigging
Use accessories made for the 150mm lens-size family and check the retaining latch. Lens diameter is not the same measurement as the barndoor ring or scrim diameter. Standard De Sisti barndoors, colour frames and scrims must be matched by part number.
Use the supplied mounting arrangement and a support rated for the complete head and accessories. Lock the yoke after aiming, secure cables without loading the connectors and add an independent safety when the unit is suspended. Keep access to the accessory latch and controls.
Related guides: lighting types and accessories and modifiers.
Alternatives and related fixtures
| Fixture | When to choose it |
|---|---|
| De Sisti Super LED F6 | A 120W Super LED head with the same 150mm lens diameter and an active-cooling system. |
| De Sisti F4.7 Lite | A smaller 120mm fanless Fresnel for tighter positions and shorter throws. |
Browse the De Sisti range or search all lighting equipment.
Videos and industry coverage
De Sisti’s lighting demonstrations show the manufacturer’s Fresnel and colour-light workflows. Check the named model in each demonstration before applying a feature to a rental head.
Rental and used-fixture checks
- Identity: read the full model label, including T, D, VW, VW+C, Lite, HP and any weather-rated suffix. Match the label to the supplied datasheet and console personality.
- Optics and focus: inspect the glass, guard and reflector; run focus through its full travel at several tilt angles. Check that the front door and barndoor lock close securely.
- Mechanical condition: load the yoke with the intended accessories, inspect the mounting point and cable strain relief, and confirm that tilt holds without excessive force.
- Electronics: warm the fixture, check colour across the working dimmer range and test local and remote control. Compare neighbouring heads on camera before committing to a matched set.
- Complete package: include power and data leads, adapters, accessories, cases and replacement-part availability in the rental or used-purchase decision.