
Last Updated 23 hours ago
Overview
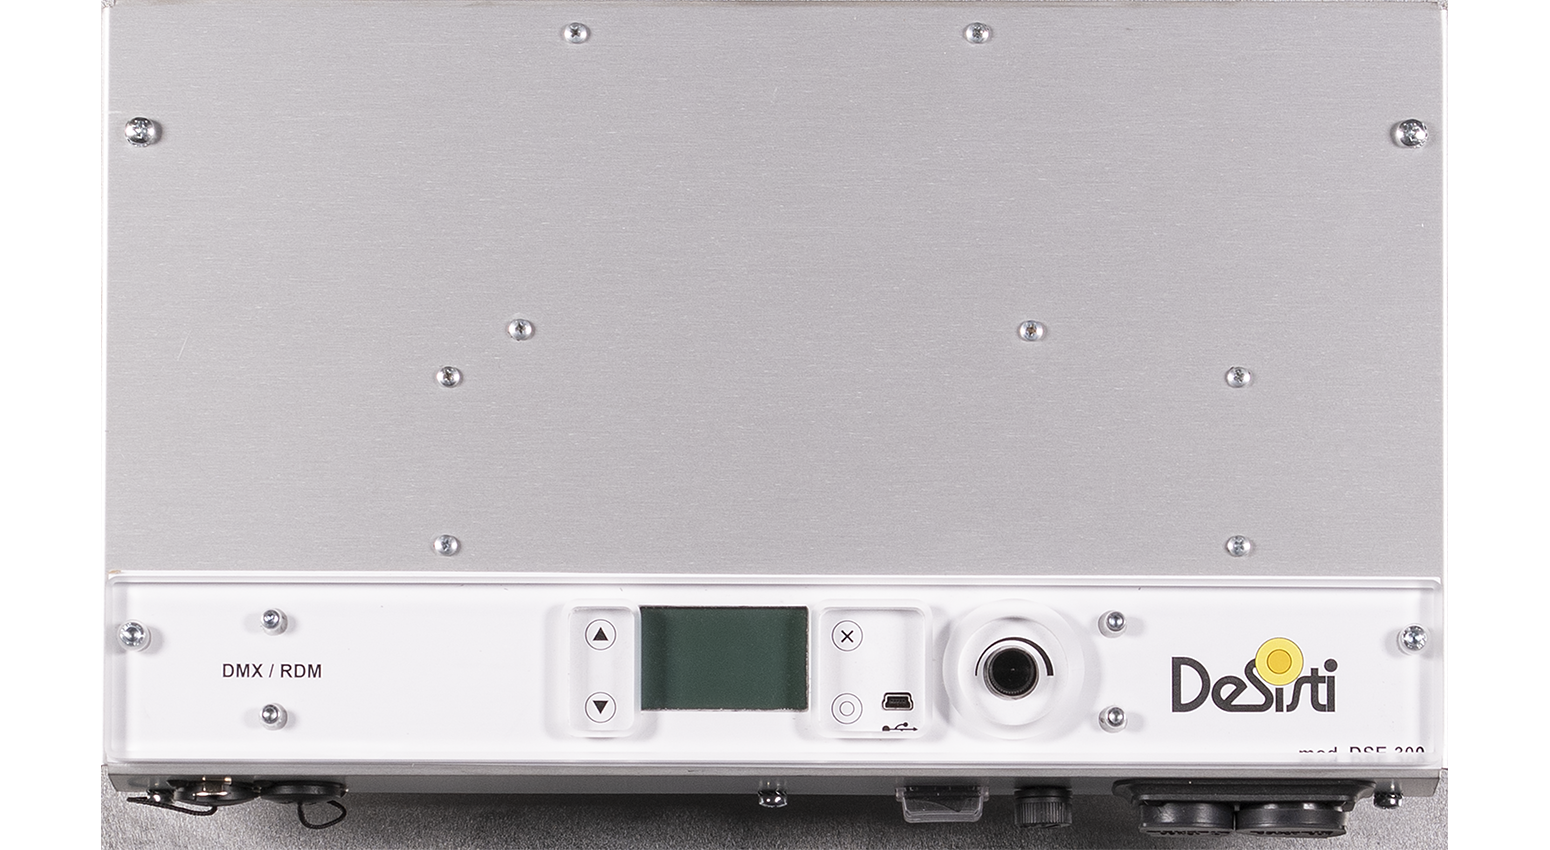
The De Sisti Spacelight VW is a 300W tunable-white LED spacelight for overhead studio illumination. Its diffusion and skirt options create a broad hanging source for ambient fill, top light or a controlled pool over a working area.

Manufacturer photographs. Swipe or scroll for the next view; select an image to enlarge.
Choose the skirt and target before planning the rig height and spacing. Those accessories determine how the source spreads down and sideways, and the complete suspended package is much heavier than a small lantern.
Key specifications
| Specification | Details |
|---|---|
| Source / LED power | 300W LED spacelight |
| Wall-power consumption | 330W at 120V or 230V |
| Colour versions | Vari-White 2,800–6,600K with green correction |
| AC supply | 90–250V, 50/60Hz |
| Controls | Local dimming and 5-pin DMX in/out |
| Dimming | The technical table lists 3-channel dimmer/CCT/mode control; confirm the green-correction personality |
| Colour-rendering reference | CRI 96; TLCI 96 |
| Cooling | Fanless convection cooling |
| Weight with yoke | 18kg head; 2kg manual yoke; 5.5kg supply |
| Protection | IP20 |
Source: model-specific manufacturer datasheet. The manufacturer’s page gives conflicting white-range and control descriptions in different sections. The range above follows its technical table; confirm the green-correction channels and software against the hired unit.
Strengths and limitations
Strengths
- A large diffused hanging source can provide broad overhead ambience.
- Fanless convection cooling suits dialogue stages.
- The driver can be remoted with the specified extension system.
Limitations
- The head, yoke, supply and diffusion assembly create a substantial rigging load.
- A spacelight can flatten contrast or spill onto walls without skirt control.
- The manufacturer’s legacy documentation needs to be matched to the actual version and firmware.
Practical uses
| Setup | Working approach |
|---|---|
| General stage ambience | Space the sources to overlap over the working area, then meter between units as well as directly below them. Keep enough height for an even field. |
| Soft pool over a set | Use the skirt and target to limit sideways spill. Check ceiling and wall bounce through the production camera before adding more top light. |
| Green-screen support | Set the screen and talent lighting independently. Use the spacelight for the intended zone, then inspect shoulders, floor spill and the separation between subject and background. |
During a relight, keep a record of position, tilt, focus or accessory setting and dimmer level. That makes a repeat setup more useful than a Kelvin value or console percentage on its own.
Output and colour
The useful output depends heavily on the skirt, target, front diffuser and mounting height. Judge the lit working area and exposure under the completed diffusion assembly; the bare-head reading does not describe the finished spacelight.
The technical table specifies 2,800–6,600K and the product description includes green correction. Establish the unit’s actual range and control personality before building a matched overhead grid.
The manufacturer photometric charts provide the source measurements. Compare beam and field angles separately and keep CCT, distance and front accessories with any recorded lux value.
For high-speed work, test the actual camera, shutter and dimmer level. Check low-level fades and a short recorded clip before relying on a general flicker-free claim.
Power and batteries
The LED engine is 300W and the listed wall-power draw is 330W. The supply accepts 90–250V, 50/60Hz. A detachable driver can be placed up to 50m away with the specified extension system; include the cable and support for the driver in the package.
Do not assume that an AC studio head accepts a camera battery. For mobile operation, use the manufacturer-approved supply arrangement for that exact version; an AC inverter also needs adequate continuous rating and runtime.
Power pass-through is limited by the connectors, cable, circuit and manufacturer instructions. Plan the total downstream load rather than daisy-chaining by the number of heads alone.
Controls, dimming and cooling
Check intensity, CCT and green correction on the actual supplied software and personality. Test the console patch before the fixtures are flown, then retain an access or lowering plan for service.
The spacelight uses convection cooling without fans. Keep the head and driver clear for cooling and use the intended diffusion arrangement rather than wrapping the housing in loose textile.
Modifiers and rigging
The manufacturer lists long and short diffusion skirts, targets, black covers, a dome and cone options. Match the exact accessory system and inspect every attachment point; a skirt changes both the light distribution and the suspended assembly.
Use the approved pendant points or manual yoke. Calculate the complete load from the head, yoke, driver if attached, cables and accessories, then plan independent retention and access with the stage rigging team.
Related guides: lighting types and accessories and modifiers.
Alternatives and related fixtures
| Fixture | When to choose it |
|---|---|
| De Sisti SoftLED 8XL | A directional large softlight when the setup needs a steered key or fill instead of a hanging ambient source. |
| De Sisti Galileo SoftNel | A hard/soft blend from a single position when shadow character needs cue control rather than broad overhead ambience. |
Browse the De Sisti range or search all lighting equipment.
Videos and industry coverage
De Sisti’s lighting demonstrations show the manufacturer’s Fresnel and colour-light workflows. Check the named model in each demonstration before applying a feature to a rental head.
Rental and used-fixture checks
- Complete diffusion package: inspect skirt, target, black covers and attachment hardware; check for heat damage, tears and missing retainers.
- Suspension: inspect hangers, yoke, independent retention and all support hardware before the unit is flown.
- Driver and extension: confirm the head/driver pairing and the dedicated extension system; check cable length and connector condition.
- Control: test dimming, CCT and green correction from the console before overhead access becomes difficult.
- Thermal condition: run the completed source warm and check that the cooling path remains clear.