
Last Updated 2 days ago
Overview
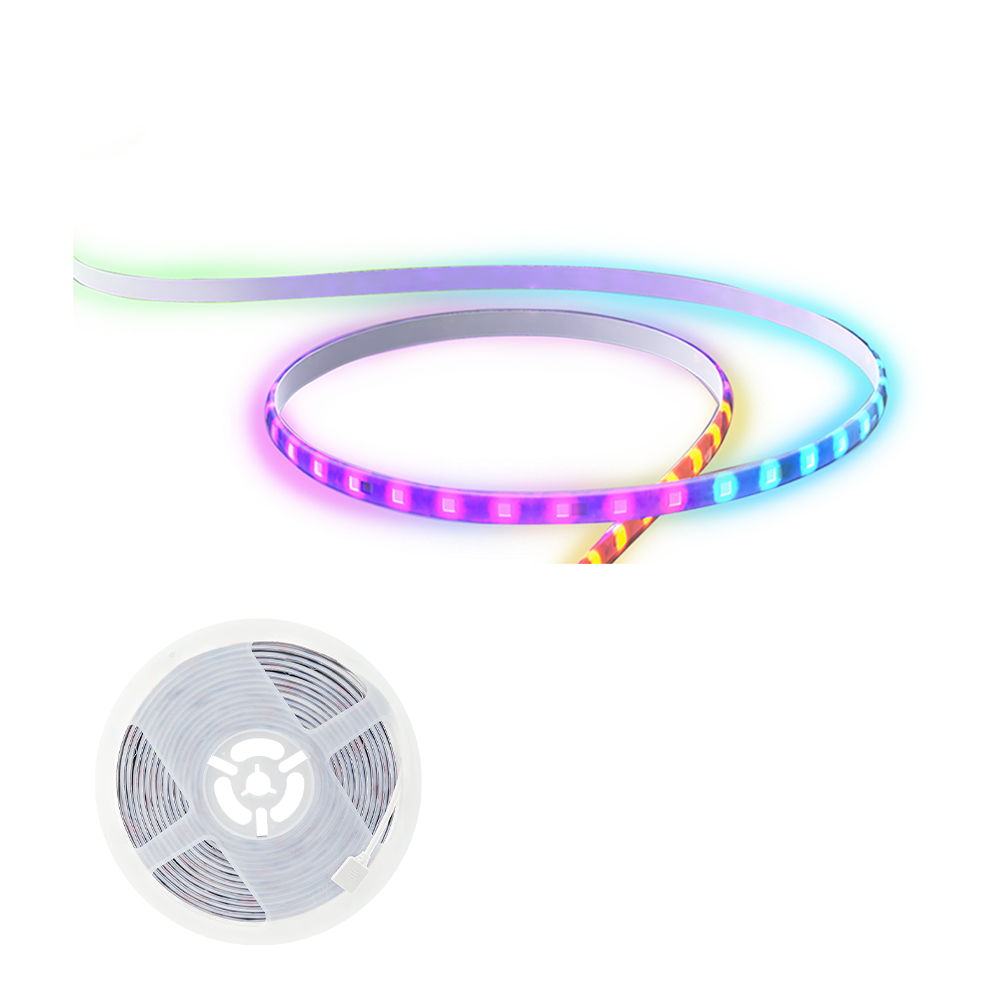
The amaran SM5c is a 5m RGBWW pixel strip for desks, shelves, sets and background accents. It combines a controller, low-voltage supply and adhesive-backed strip, with individual colour zones and app-based effects.


Product photographs: amaran. Select an image to view it at full size.
This is a decorative and practical-light system rather than a miniature substitute for a key light. Its 100 controllable pixels are groups along the strip, and the optional extension changes the installed length without turning it into a high-output room fixture.
Key specifications
| Specification | Details |
|---|---|
| Standard length | 5m |
| Optional extension | 5m; included only in specified bundles |
| Colour | RGBWW; 3,200–6,500K white range |
| Pixel mapping | 100 addressable zones |
| Maximum input | 20W |
| Operating input | 12V DC |
| Controls | Sidus Link; documented Alexa/Google Assistant integration |
| Cooling | Passive |
| Controller dimensions | 48 × 97 × 28mm |
| Operating temperature | −10 to 40°C |
| Mounting | Adhesive-backed strip and supported controller |
| Power package | Matching controller and external supply |
Strengths and limitations
Strengths
- Adhesive-backed strip can follow a designed set edge.
- Pixel colours and effects add background movement without several separate lights.
- Bluetooth and supported smart-home integration suit a fixed creator space.
Limitations
- Low total power is spread over a long strip.
- Adhesion and exposed installation need surface preparation and protection.
- Console DMX and built-in CRMX are not established control routes for this product.
Practical uses
| Setup | Working approach |
|---|---|
| Shelf accent | Hide the strip behind a lip so the reflected colour is visible while the individual LEDs stay out of the lens. Test reflections from the camera position. |
| Visible set line | Use a straight, supported run to create a clean graphic edge. Diffusing extrusion can smooth the visible dots but costs output and must not prevent appropriate cooling. |
| Music-driven background | Place the controller microphone where it can hear the intended source. Music reactivity is a creative effect rather than a timecode-synchronised playback system. |
Output and colour
A strip’s useful result depends on its installed length, distance from the illuminated surface and whether it is seen directly or as a reflection. A single centre lux figure would not describe the full installation. Set exposure from the final set and verify the chosen pixel animation on camera.
For a specific CCT, distance and accessory, use the model’s manufacturer specification and photometric reference. Test the final lighting and camera combination when colour consistency or high-speed recording is critical.
CRI, TLCI and SSI describe different aspects of colour reproduction. A high CRI value does not establish a perfect match to daylight, tungsten or another LED. Compare important skin tones, wardrobe and product colours on the camera used for the job.
Power and batteries
The system is rated for 12V DC with a 20W maximum input. Use the matching controller and supply; a physically similar adapter with a different voltage or polarity can damage the strip.
The standard light is 5m and a separate 5m extension is listed. Some store bundles include that extension, so compare the actual contents. Confirm extension and cutting instructions in the manual before changing a run; a cut or connector alters the installation package.
Control, cooling and camera operation
Sidus Link provides Bluetooth colour, intensity and pixel effects. Supported Amazon Alexa and Google Assistant integration uses the documented smart-home pairing route rather than a cinema-lighting radio link.
Set up the controller where Bluetooth, Wi-Fi and the music microphone can function. Avoid burying it behind conductive scenery. Use the documented smart-home and Sidus Link routes; a wired DMX or CRMX console workflow is not specified.
Modifiers, rigging and the working package
Plan the installation on a clean, dry, compatible surface before removing the backing. Support corners and connectors without sharp bending, and leave the controller and power supply accessible. Test any adhesive where a finish could be marked.
Use appropriate cable management and avoid pinching the strip behind furniture. Decorative channels and diffusion can make a cleaner visible installation, but the strip still needs its required operating space and protection from abrasion or liquids.
Alternatives and related fixtures
| Fixture | Choose it for |
|---|---|
| Aputure MC | A small self-contained RGBWW accent that can move between positions. |
| amaran P60c | A panel for stronger background or subject lighting. |
| Aputure MT Pro | A compact pixel tube for portable effects instead of a fixed adhesive run. |
Setup resources
SM5c installation and control guidance. The manufacturer discusses adhesive preparation, microphone placement and Bluetooth/smart-home pairing. These instructions are operating guidance rather than an independent performance review.
Videos
SM5c: official quick-start guide
Mounting, basic setup and smart-home integration.
Rental and used-fixture checks
- Confirm the exact model and generation on the label, then compare the included supply, cables and accessories with the matching manual.
- Inspect the emitting face, housing, connector pins, mounting threads and locks. Test every supplied modifier and make sure the release mechanism fully engages.
- Run the light at the intended output until it reaches normal operating temperature. Check for flicker, unexpected shutdown, uneven emitters and unusual fan noise.
- Test white light and every available colour mode; check low-level dimming, blackout and the camera/shutter combination used for the job.
- Test the complete strip and each pixel region before installation. Inspect cut points, connectors, adhesive condition and the matching low-voltage controller.
Documentation and specifications
- Official model information
- Manufacturer kit contents and accessories
- Installation instructions
- Control and pairing FAQ
- Technical specifications
- Manufacturer product manual
Browse amaran lights or search the equipment directory.